

The secret to professional-looking foam latex prosthetics isn't in the sculpting or the molding: it's all about those edges. Perfect blending can make even a simple piece look like it was grown from your skin, while visible seams will give away the most expensive prosthetic in seconds.
Don't worry if this sounds intimidating. Blending edges is actually much easier than most people think, especially when you have the right products and know the techniques. Let's break down everything you need to create those seamless, invisible transitions that separate the pros from the beginners.
Why Edge Blending Makes or Breaks Your Look
When you apply a foam latex prosthetic, you're essentially trying to fool the eye into believing that this artificial piece is part of your natural skin. The edges are where this illusion lives or dies. Even the most realistic texture and perfect color match won't save a prosthetic with obvious, thick edges.
Good edge work allows the prosthetic to move naturally with your facial expressions. Bad edges create hard lines that catch light, shadow, and attention in all the wrong ways. The goal is to create a gradual transition from the prosthetic to your skin that's so smooth, even close inspection won't reveal where one ends and the other begins.
Essential Products for Perfect Edge Blending
You have three main options for blending foam latex prosthetic edges, each with its own strengths and applications.
Pro Adhesive: The Reliable Standard
Pro adhesive has been the go-to choice for foam latex applications for years. It creates a strong, flexible bond that moves with your skin and provides excellent adhesion for edge work. The adhesive dries clear and can be layered multiple times to build up smooth transitions.
Pro adhesive works particularly well for beginners because it has a longer working time, giving you more opportunity to position and reposition edges before it sets completely. It's forgiving and allows for corrections during the blending process.
Liquid Latex: The Versatile Option
Liquid latex offers incredible flexibility and creates edges that move naturally with skin. It's particularly useful when you need to build up gradual transitions or when working with thinner prosthetic edges. Liquid latex can be applied in multiple thin coats to create seamless blends.
One advantage of liquid latex is its ability to create texture that matches natural skin. You can stipple it on with sponges or brushes to replicate pore texture and natural skin variation around the edges of your prosthetic.
Zombie Skin: The Game-Changer
Here's where things get really exciting. Zombie Skin is a unique product that we're particularly proud to carry at Mostlydead.com. This product has been creating buzz in the special effects community: though many people still don't know about its incredible capabilities.
Zombie Skin combines the best properties of traditional adhesives with innovative chemistry that makes edge blending almost effortless. It creates incredibly smooth transitions while maintaining the flexibility needed for realistic movement. What makes Zombie Skin special is its ability to self-level as it dries, automatically creating those smooth gradients that would normally require multiple coats of other products.
The product also has superior holding power, meaning your edges stay put through long shoots or wear sessions. Many professional makeup artists who've discovered Zombie Skin say it's revolutionized their edge work: cutting application time while improving results.

Step-by-Step Edge Blending Technique
Preparation
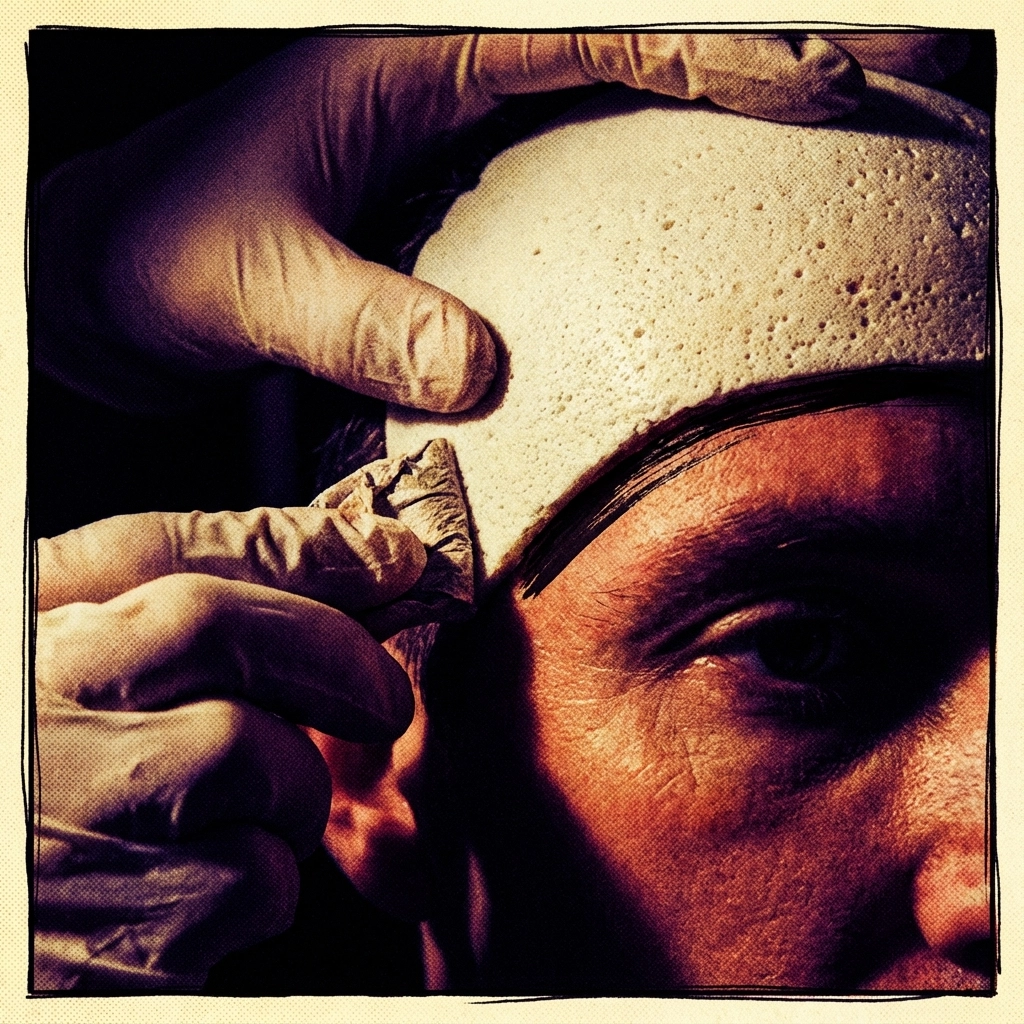
Start with clean, oil-free skin. Remove any residual adhesive from previous applications and ensure the prosthetic edges are properly prepared. If the edges are too thick, you can carefully thin them by gently stretching and tearing or scraping(never cutting) the foam latex to create more natural, feathered edges.
Initial Application
To apply your foam latex prosthetic, use a professional adhesive like Pro adhesive or spirit gum. Apply a thin layer to both your skin and the back side of the prosthetic, then press it into place and hold for a few moments until secure.
Position the prosthetic carefully: you usually only get one shot at perfect placement, especially with stronger adhesives.
The Blending Process
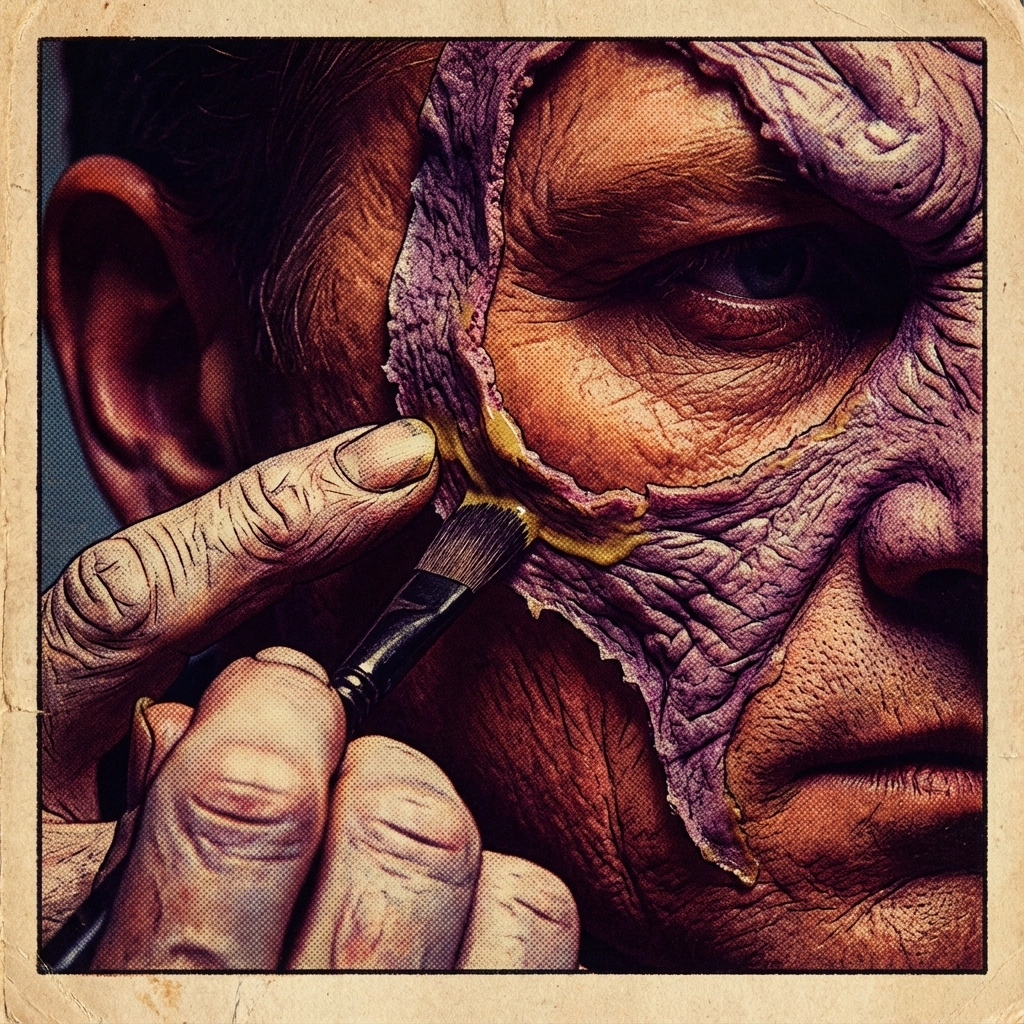
This is where the magic happens. Apply thin layers of your chosen product along the edges where the prosthetic meets your skin. The key word here is "thin." Multiple thin layers always look better than one thick application.
With Pro adhesive, use a cotton swab or small brush to apply the product in feathering motions, working outward from the prosthetic onto your natural skin. Build up the layers gradually, allowing each to dry completely before adding the next.
For liquid latex, you can use stipple sponges to create texture while blending. This technique helps match the natural texture of your skin and creates more convincing transitions.
Zombie Skin requires the lightest touch. Apply it sparingly along edges and let its self-leveling properties do most of the work. You'll be amazed at how smooth the transitions become with minimal effort.
Advanced Blending Techniques
Powder Setting
After each layer of adhesive, dust lightly with translucent powder. This prevents tackiness and allows you to build multiple layers without them sticking to your tools or creating unwanted texture.
Temperature Considerations
Warm adhesives flow and level better than cold ones. If you're working in a cool environment, warm your products slightly (never use direct heat) to improve their blending properties.
Tool Selection
Different tools create different effects. Cotton swabs give you precise control, while wedge sponges create broader, softer transitions. Experiment with different applicators to find what works best for your specific prosthetic and chosen product.
Troubleshooting Common Edge Problems
Visible Lines
If you can see distinct lines where your prosthetic meets your skin, you need more blending product. Apply additional thin layers, working outward from the prosthetic edge.
Thick or Bulky Edges
This usually means you're applying your blending product too heavily. Strip off the excess with adhesive remover and start over with thinner applications.
Edges That Won't Stay Down
Some foam latex prosthetics have stubborn edges that keep lifting. This is where Zombie Skin really shines: its superior adhesion properties handle difficult edges better than traditional products.

Color Matching and Final Touches
Once your edges are perfectly blended, you need to match the color. The blending products may slightly alter the color of the prosthetic edges, so be prepared to adjust your makeup accordingly.
Use your regular makeup products over the blended edges, but remember that different adhesives may affect how makeup applies. Test your color matching on a small area first.
Professional Tips for Perfect Results
Practice Makes Perfect
Edge blending is a skill that improves dramatically with practice. Don't expect perfect results on your first attempt. Each prosthetic and each face presents unique challenges.
Less Is More
It's always easier to add more blending product than to remove excess. Start with very thin applications and build up gradually.
Tool Maintenance
Keep your blending tools clean and in good condition. Contaminated or worn tools can create texture and blending problems.
Work in Good Light
Proper lighting is crucial for seeing your edge work clearly. Work near a window during daylight hours or invest in good makeup lighting.
Why Zombie Skin Is Worth Trying
If you're still using traditional products for edge blending, Zombie Skin is worth investigating. Its unique properties make it particularly valuable for:
- Beginners who struggle with traditional blending techniques
- Professional applications where time is limited
- Difficult prosthetics with stubborn edges
- Long-wear situations where durability matters
The product represents a real innovation in special effects adhesives, and we're excited to be able to bring it to artists who want to elevate their work.

Moving Forward with Confidence
Perfect edge blending isn't just about having the right products: though that certainly helps. It's about understanding the principles, practicing the techniques, and building your confidence with each application.
Remember, even professional makeup artists had to learn these skills. The foam latex prosthetics you see in major films didn't appear perfectly blended on the first try. Every expert started exactly where you are now.
Start with simple pieces, focus on your technique, and don't be afraid to experiment with different products and methods. Whether you choose Pro adhesive, liquid latex, or decide to try Zombie Skin, the most important factor is consistent practice and attention to detail.
Your edges will improve with every prosthetic you apply, and soon you'll be creating those seamless, professional-looking results that make people wonder how you did it.
Comments